Installing WebMO on Google Cloud Platform
Google Cloud Platform (GCP) services allows one to create virtual machines in Google's computing cloud. One can choose the computer type (CPU's, RAM, disk) and OS (linux distro). While this is a commercial service, the cost can be surprisingly low (<$1/day), and even lower if the instance is run only when needed. There are many other advantages, such as zero initial capital cost and no hardware maintenance. We have found cloud computing to be an ideal solution for deploying WebMO and computational chemistry engines, especially for educational purposes.
Setup a Google Cloud Platform account
- Log into your Google (gmail) account.
- In a new tab, go to
cloud.google.com
and sign up for a Google Cloud Platform free trial ($300 of credit or 1 year, whichever comes first). You will need to supply billing information to verify that you are a real person, but you will not be charged unless you upgrade your account after your trial ends.

Create a virtual machine instance
Go to
cloud.google.com
and click the Console link (near top right) that brings you to the Developers Console, which is a web interface for managing and interacting with your virtual machines.
In the Projects dropdown menu (initially My First Project), select Create a project... and give your project a new name, e.g., WebMO, and click Create. Wait until it initializes.
Open the Menu panel (near top left) and go to Compute Engine -> VM instances. Click Enable Compute Engine API, and wait for this process to complete.
Click Create instance or New instance. Supply the following options:
Name: webmo-#
Zone: change to a location near you (us-central#-#)
Machine type: 1 vCPU, 3.75 GB Memory (n1-standard-1)
Boot disk: CentOS 7
Boot disk type: Standard persistent disk
Size (GB): 20
Firewall: select Allow HTTP traffic and Allow HTTPS traffic
Click Create. You will be taken back to the instances page. Let Google do its magic! When the green check comes up, the instance is up and running.


Verifiy SSH access
In the Developers Console, click the SSH link under Connect (near bottom right). When the terminal screen comes up, test some unix commands:
$ pwd
$ whoami
(Note: Ctrl-+ or Apple-+ will enlarge the text size in the terminal screen.)


Install WebMO
- In your bash session, download and run the Server in the Cloud (sitc) script:
$ curl -O https://www.webmo.net/cloud/sitc.tar.gz
$ tar xzf sitc.tar.gz
$ ./sitc/install
- Follow prompts to:
- update the operating system and add some components
- configure the operating system
- install webmo
- obtain and/or specify webmo license number
- create a webmo user
- install mopac7
- Do not delete the SITC script from your virtual machine. It contains configuration information, and it can be used to install additional compute engines. For a full description of SITC, type:
$ ./sitc/install --help


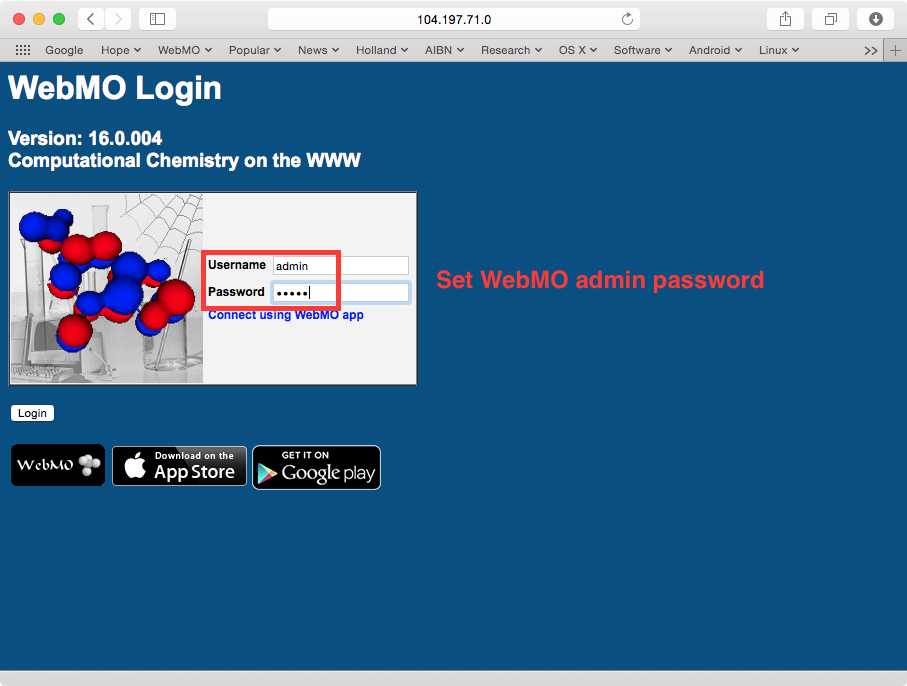
Set a WebMO administrator password
Navigate to
<IP Address>/webmo
Log in with the username "admin" and a blank password. Set an administrative password when prompted. Enter your registration information. You are brought to the WebMO administration menu. Since a user was already created and mopac was already installed, simply click Logout.


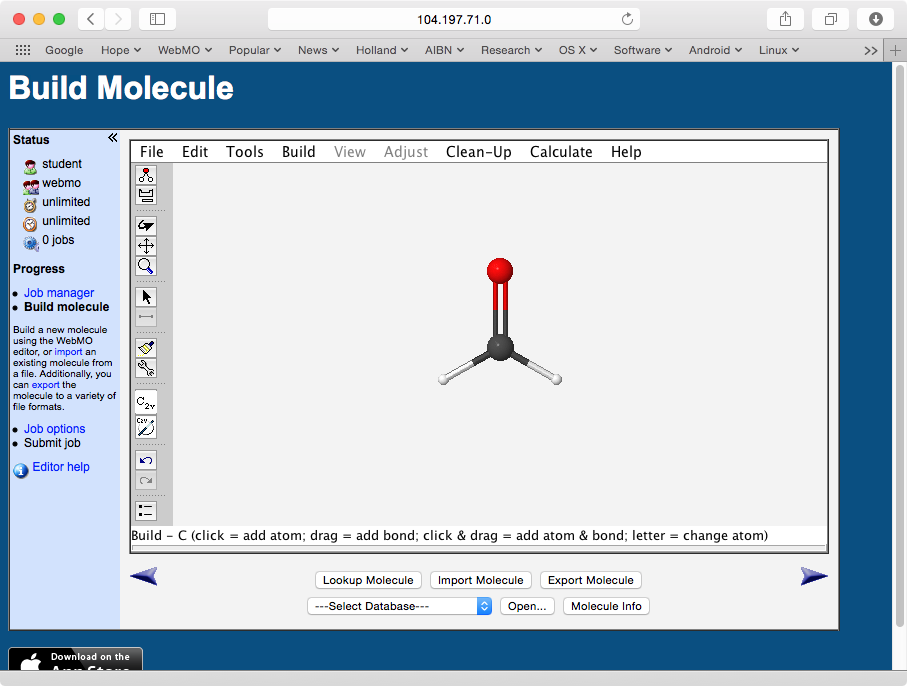
Access and use WebMO
If a browser tab to your virtual machine is not displayed, click the External IP link for your virtual machine in the Developers Console. Navigate to
<displayed IP address>/webmo
Log in with the username and password you supplied to the installation script. Run a test job.

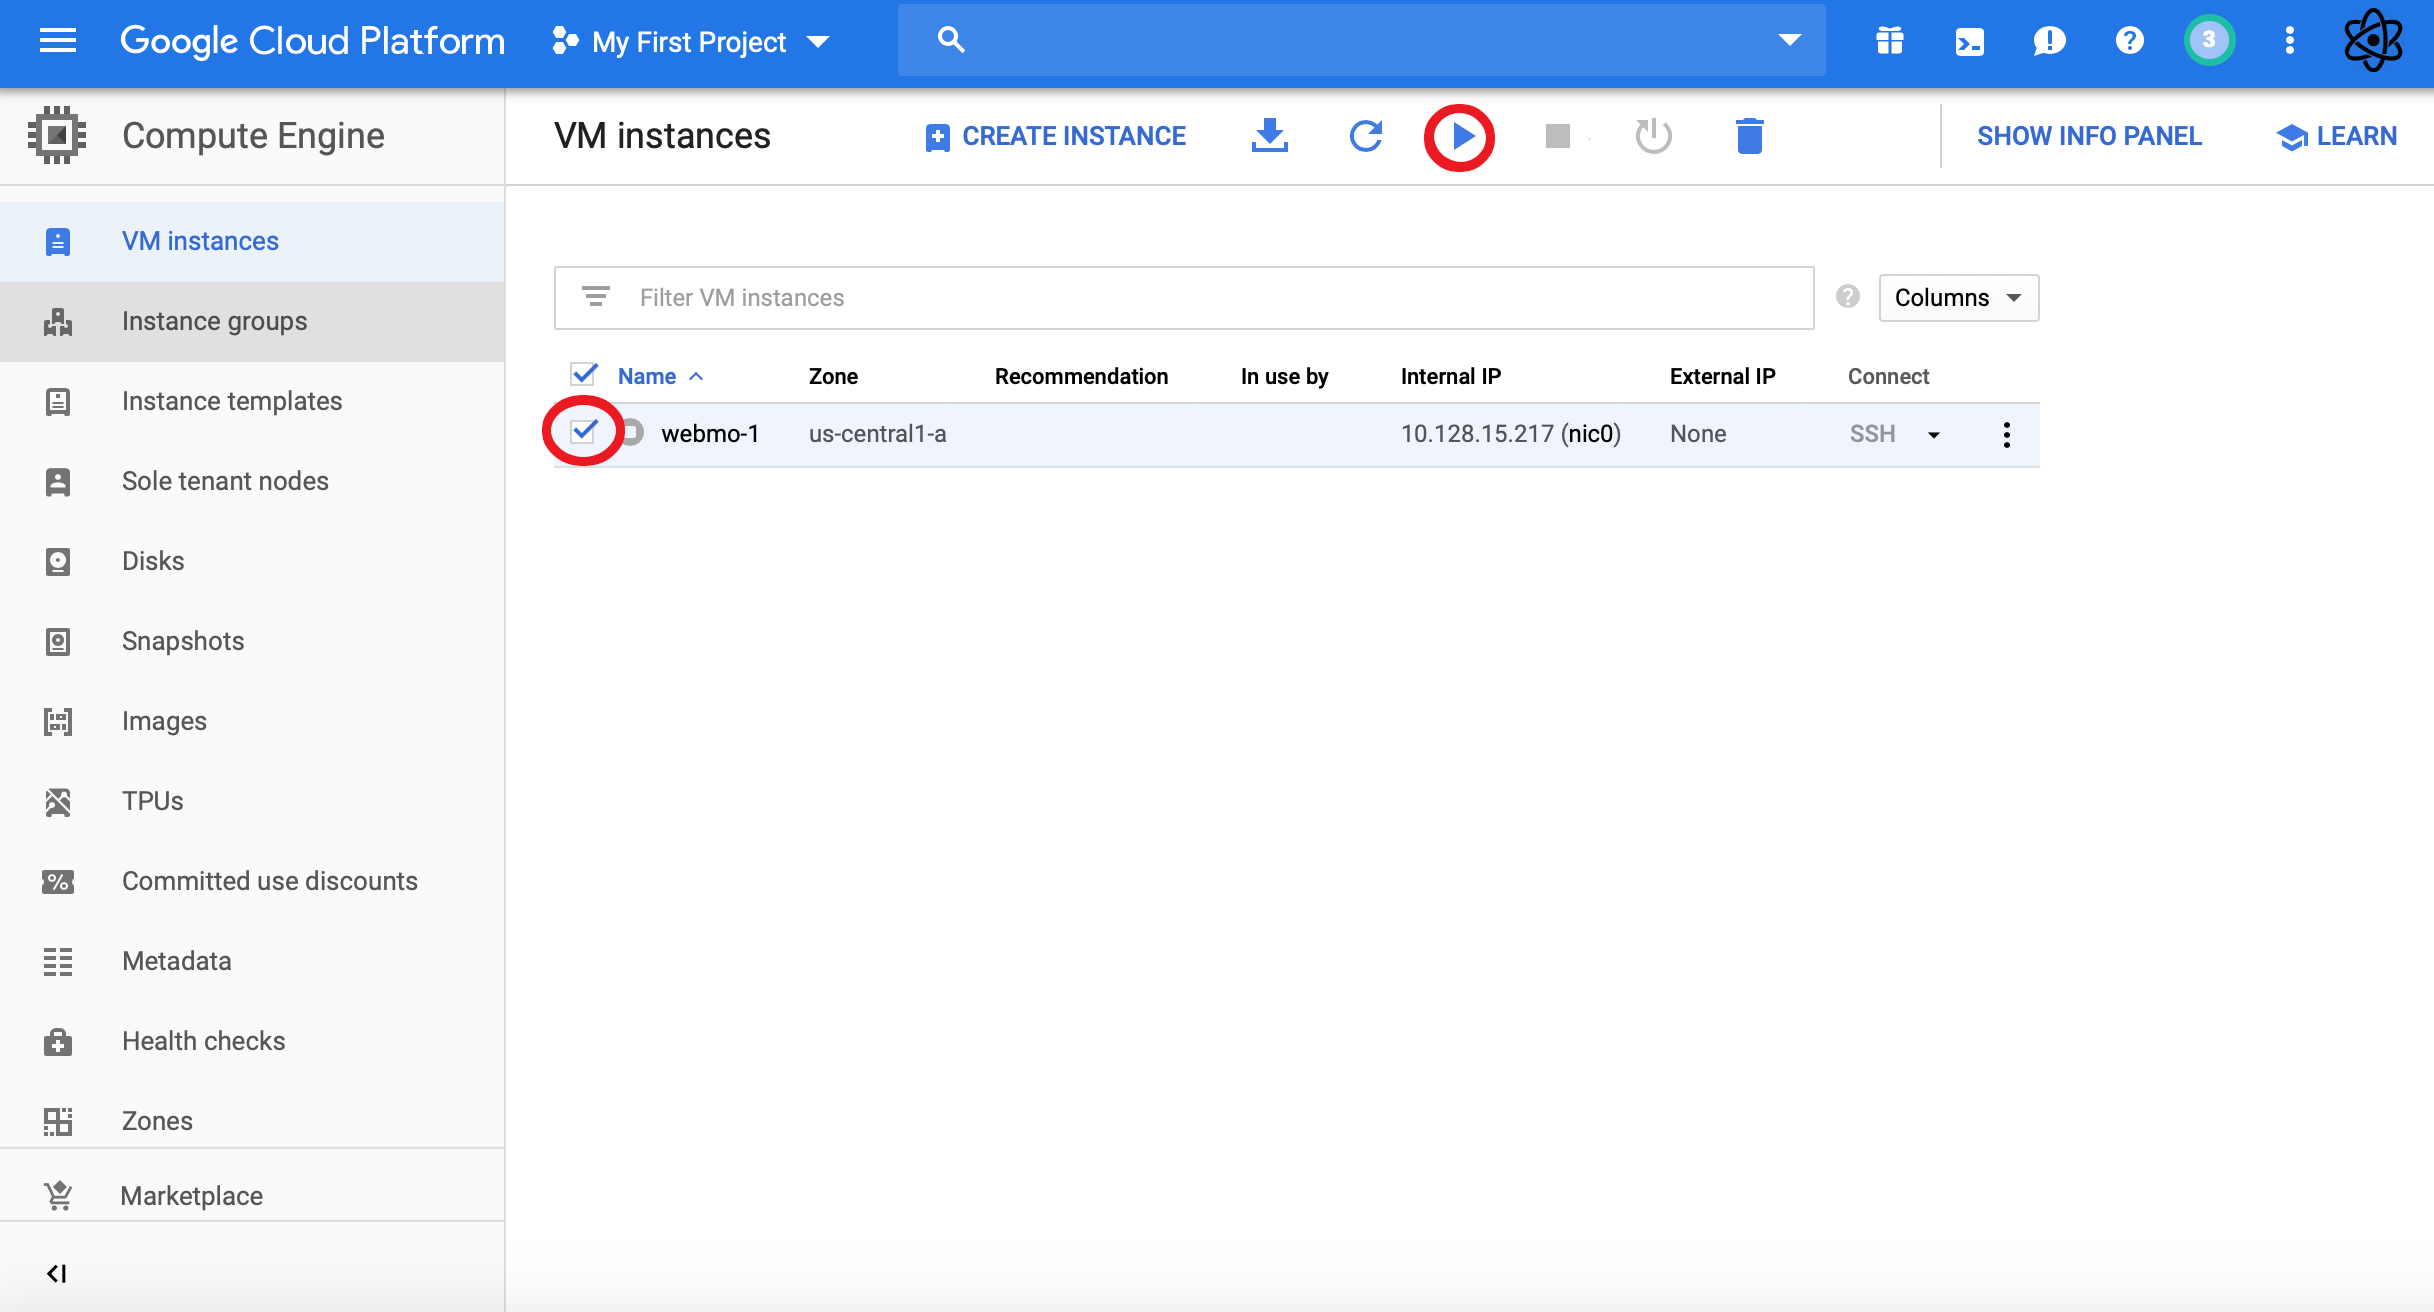
Shutdown virtual machine
When WebMO is not being actively used, you will want to shut it down to avoid incurring CPU usage charges. From the Developers Console, select your virtual machine and click the Stop icon.
Note that you still incur disk storage charges ($1/month for 20GB) even if the virtual machine is not running.

Restarting virtual machine
To start up the machine again, login to your gmail account, go to cloud.google.com, click the My console link, select your project, From the menu navigate to Compute Engine -> VM instances, select your virtual machine, and click the Start icon. When the green check is displayed, the instance is up and running again.
Cost Examples
Assuming that one creates a 1 vCPU instance with a 50GB disk, the annual costs are
CPU: $420/year * 70% * 1year = $294
Disk: $2/month * 12 months = $24
TOTAL: $318 for one year of continuous availability (<$1/day!)
If one runs the instance for just one month of the year (e.g., for a computational chemistry lab), then the cost would be
CPU: $420/year * 1 year/12 = $35
Disk: $2/month * 12 months = $24
TOTAL: $59 for one month of use during the year ($2/day for one month!)
Very low-cost configurations can be built, e.g., a f1-micro with a 10 GB disk (runs mopac only):
$47 + $5 = $52 for one year of continuous availability ($0.15 per day!)
$6 + $5 = $11 for one month of use during the year (perfect for low cost computing!)
Alternatively, a research-level configuration could be built, e.g., a 4 vCPU with a 500GB disk for one summer:
CPU: 4cpu * $420cpu/year * 70% * 1year/4 = $294
Disk: $20/month * 3 months = $60
TOTAL: $354 for three months of continuous availability (<$4/day)
Lowering Cost
CPU usage charges can be significantly lowered by stopping the virtual machine when it is not being used and then restarting the virtual machine when needed. See above.
Disk storage charges can be lowered by snapshotting the disk, deleting the disk, and then restoring the disk from the snapshot when needed.


Supported Computational Engines
| PSI4 | ORCA | Mopac7 | OpenMopac | NWChem | Gamess | |
| Ubuntu | X | X | X | X | X | X |
| Debian 9 | X | X | X | X | X | |
| Centos 6 | X | X | X | X | X | |
| Centos 7 | X | X | X | X | X | X |
| Centos 8 | X | X | X | X | X |
Advanced Tips
Administering WebMO:
To access the WebMO administration pages, log into WebMO as username "admin" with the administration password. You can now access the User Manager to add additional users, Job Manager to monitor jobs, Interface Manager to enable other engines (which need to be installed separately), etc.
Adding additional computational engines:
Run the commands:
$ ./sitc/install --skip_webmo="true" --skip_update="true" --engines="foo" (where foo is the engine, or engines separated by commas, that you wish to install)
Some engines require a file to be uploaded beforehand. Run:
for more information.
Upgrading WebMO to Pro or Enterprise:
Upgrading with SITC: Obtain a license for WebMO Pro/Enterprise. Login to your virtual machine and run:
Provide your WebMO Pro/Enterprise license numnber and password when prompted. SITC will download the webmo distribution and perform the upgrade.
Upgrading manually: Obtain a license for WebMO Pro/Enterprise, and download the webmo distribution tar.gz file. Upload the webmo distribution into /home/webmo/download on the virtual machine. Install the upgrade as the webmo system user:
$ cd /home/webmo/download
$ tar xzf WebMO.20.0.00Xe.tar.gz
$ cd WebMO.install
$ find /home/webmo -name globals.int
$ perl upgrade.pl
Have you backed up your present WebMO installation [y/n]:y
Location: /home/webmo/public_html/cgi-bin/webmo/interfaces/globals.int
Continue with upgrade [y/n]:y
License number: ####-####-####
Do you wish to purge deleted jobs? [y/n]:y
$ exit
Setting up SSH (also useful for scp):
From your VM instances page, click on the name of the instance into which you want to be able to SSH. Then click "Edit" at the top of the screen. Scroll to the Security and Access section. Under SSH keys, click "Add Item". A box to add an ssh key to should appear. Copy your PUBLIC ssh key and paste it into the box. Be sure to change the username on the key to the account you wish to ssh into on your VM, which can be accomplished by editing the key data in the box. At the end of the key there is a piece of text <username>@<location>. Change the <username> appropriately; there is no need to change the <location>. Click "Save". Now ssh into <username>@<IP> where <username> is the username you specified in the ssh key, and <IP> is the external IP address of your virtual machine.
